Featured Projects
Spaces you’ll love, for the people you love
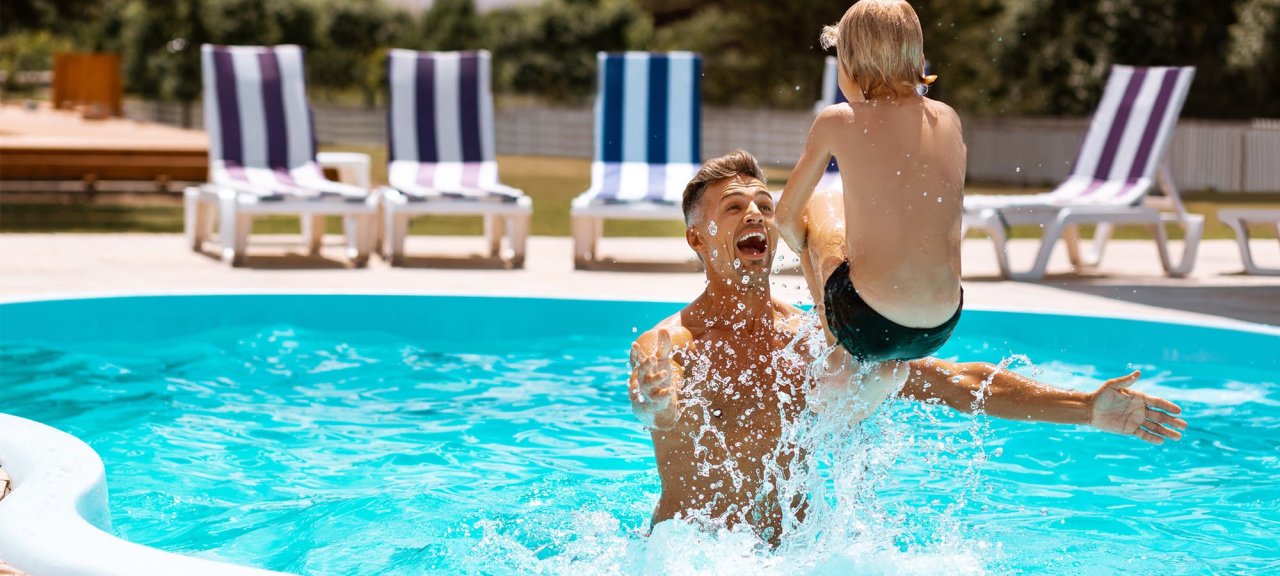
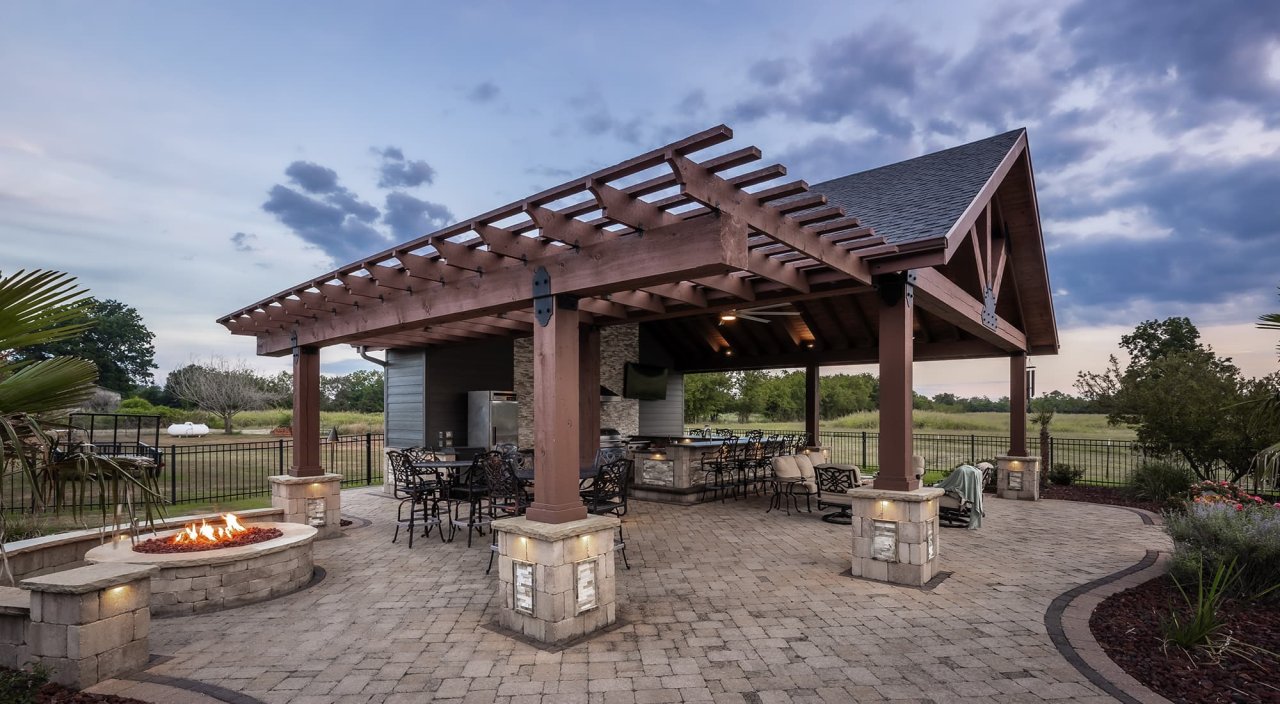
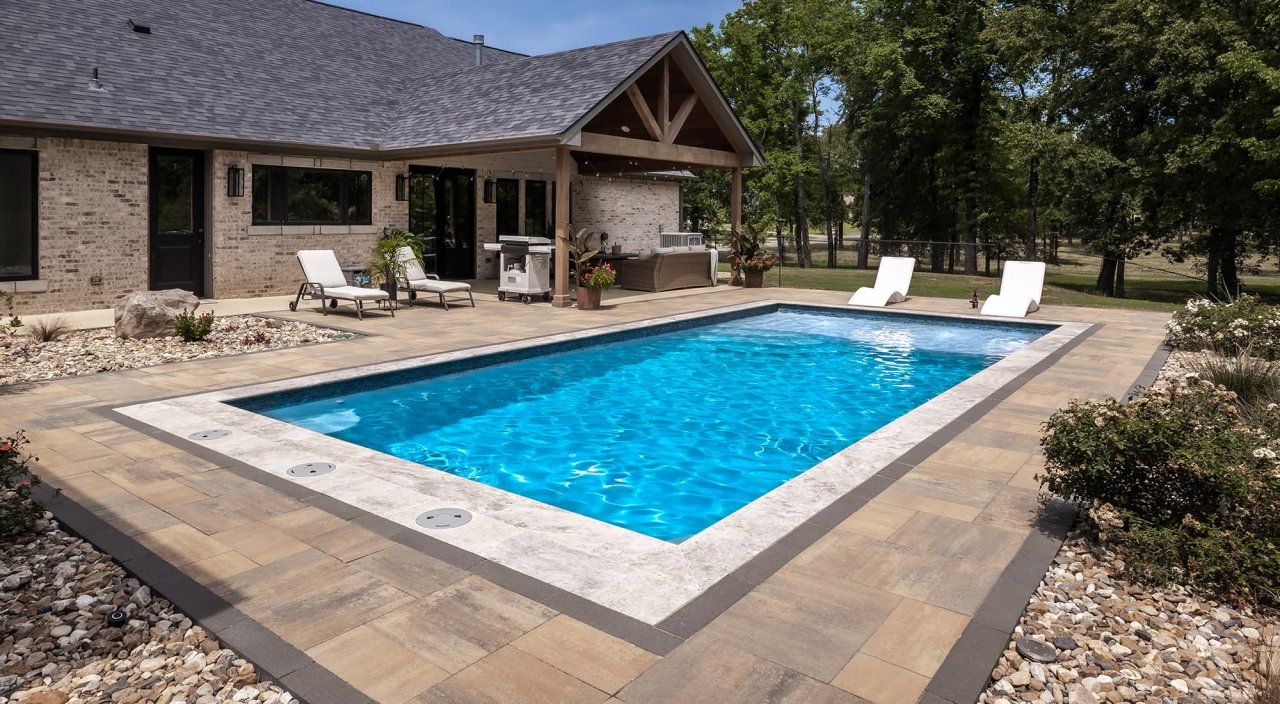
Quiet mornings on the patio, sun-filled afternoons by the pool and a baby’s first steps across the lawn… it all starts here. Discover what’s possible with Red River Outdoor Living and find inspiration for your own outdoor retreat where you can enjoy life’s best moments.

Make your home the destination
Book a Consultation